
Looking to connect a domain to HubSpot? This guide will walk you through the entire process, ensuring you avoid common pitfalls. Follow these steps to link your domain seamlessly and start utilizing HubSpot’s features with your custom domain.
Key Takeaways
- To connect a new domain to HubSpot, update your DNS records and verify domain usage to ensure proper content hosting without conflicts.
- Managing SSL certificates is essential; HubSpot provides automatic SSL certificates, while custom certificates require additional steps and can take up to four hours to activate.
- Different DNS providers have unique processes for domain connection, so users should follow specific instructions based on their provider to avoid errors in DNS settings.
Connect a New Domain to HubSpot

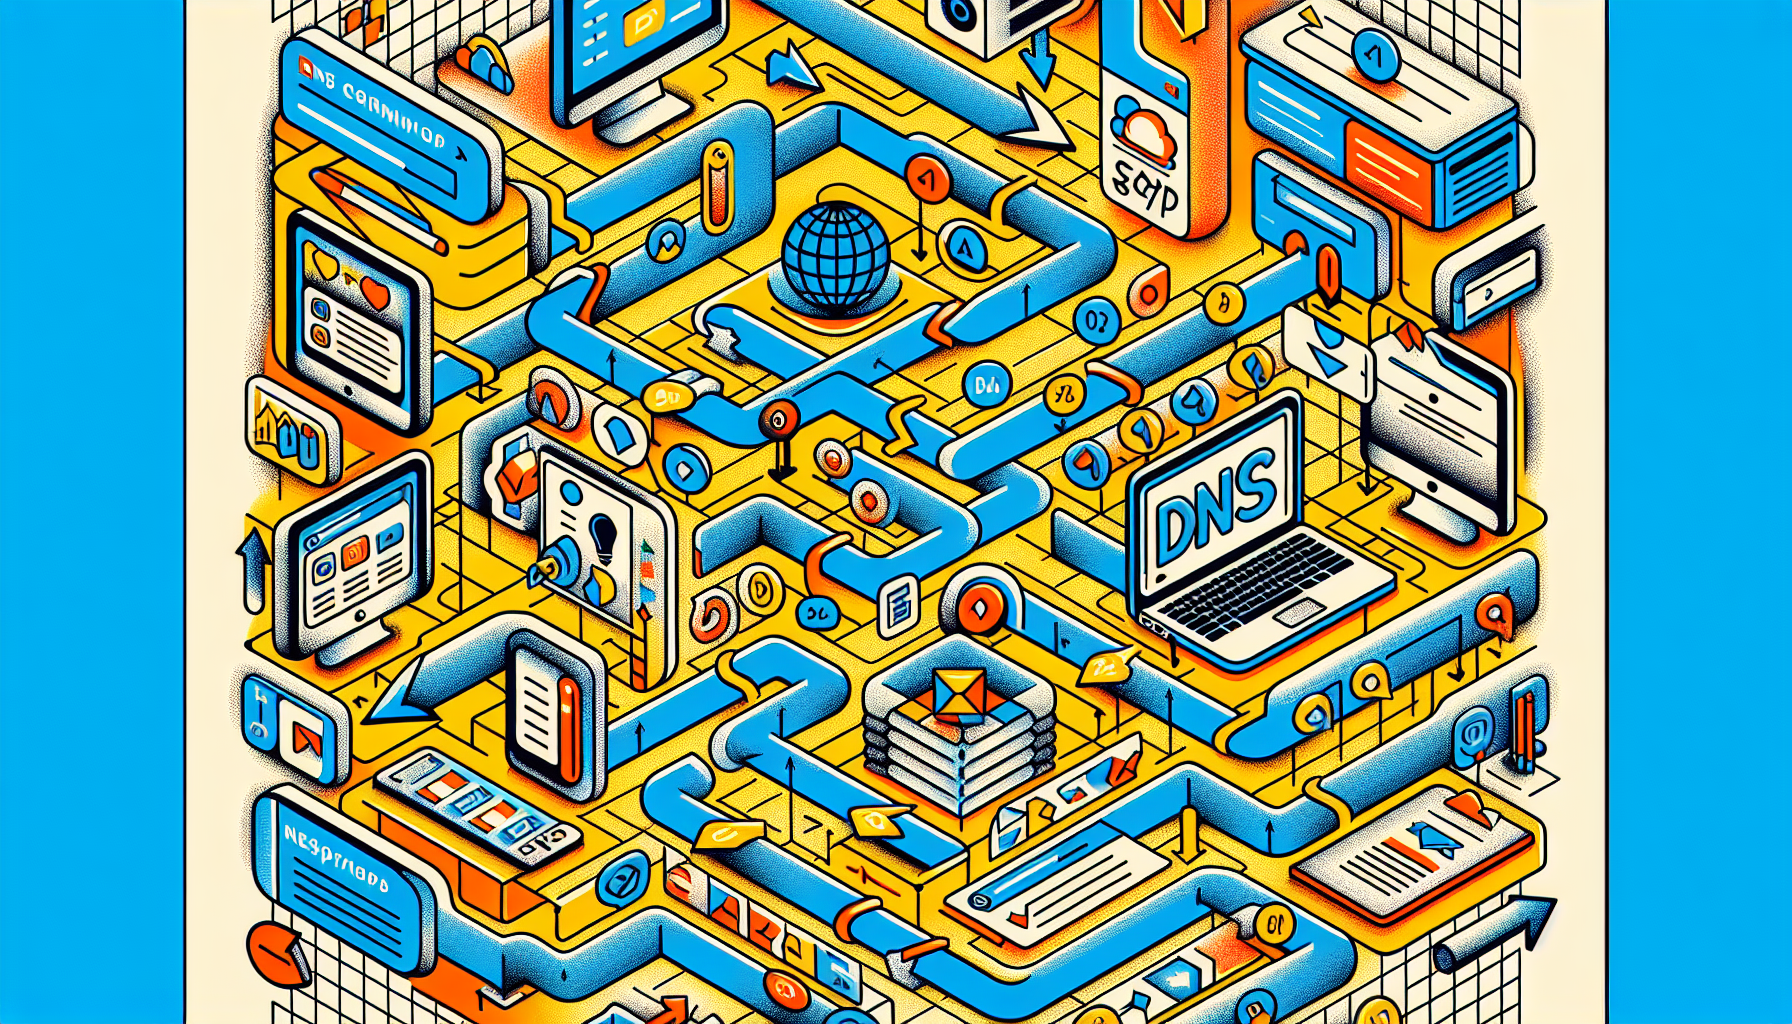
Connecting a new domain to HubSpot helps centralize your marketing efforts and enhance your online presence. To do this efficiently, update your DNS records by accessing your DNS provider’s account. HubSpot’s Domain Manager tool is particularly useful here, especially if you use GoDaddy. Review the domain connection instructions to connect a domain for both website and email sending domains to prevent any disruptions.
After selecting the subdomain to connect, authorize HubSpot to access your DNS provider’s account for seamless integration. This usually involves configuring A and CNAME records, key components of your DNS setup.
Also, don’t forget to connect the domain you use for sales emails—this helps prevent them from landing in spam and keeps things running smoothly. And of course, make the most of the HubSpot LinkedIn Integration to streamline your process!
Here’s a step-by-step guide, starting with accessing your DNS provider account.
Access Your DNS Provider Account
Begin by accessing your DNS provider account to view and edit your DNS records. Log in to get started. If you face any issues, reach out to your IT team or contact your DNS provider for support.
Navigate to the DNS settings section after logging in. Here, you will make the necessary changes to connect your domain to HubSpot. For common DNS providers like GoDaddy, Namecheap, or Bluehost, the process is straightforward and well-documented. If using a less common provider, you may need to dig deeper to find the right settings.
Verify Domain Usage
Verify the domain verification process before making any changes. Only connect subdomains intended for hosting HubSpot content to avoid broken pages and poor user experience. This step ensures your HubSpot content displays correctly without interfering with other parts of your website.
Carefully select the domain you intend to use to maintain your website’s integrity and ensure all content is correctly routed and displayed. Once verified, proceed confidently, knowing your HubSpot content will be hosted seamlessly.
Manage SSL Certificates
Managing SSL certificates is crucial when connecting your domain to HubSpot. HubSpot automatically provides a standard SAN SSL certificate, ensuring secure connections for your users. For custom SSL certificates, purchase an add-on and generate a new CSR through HubSpot.
Custom SSL certificates vary: single hostname, wildcard, or multi-domain, depending on the number of domains to secure. They offer different levels of validation, including DV, OV, and EV.
After uploading, a custom SSL certificate may take up to four hours to activate. HubSpot will notify you about the renewal process 60 days before expiration.

Modify Content Types on Existing Domains

After connecting your domain, you might need to modify the types of content host HubSpot content on it. HubSpot allows hosting various content types, including marketing emails and HubSpot pages. Navigate to the settings in your HubSpot account and access the Domains & URLs section.
Start by listing some forbidden forms of the keyword “root domain” according to the rule 5. Select the root domain you want to modify and choose the content types to host. If a primary domain is already assigned to a particular content type, modify that domain instead of adding new content types. This flexibility ensures your domain hosts the necessary content for your marketing efforts without overlap or conflicts.
Setting Up DNS Records Manually
Setting up DNS records manually can seem intimidating, but with the right guidance, it’s manageable. This involves updating your DNS records with your provider, often requiring changes to CNAME and A records. Each DNS provider has specific steps, so follow the instructions carefully to avoid issues.
Here are the details of configuring CNAME records and handling DNS errors.
Configure CNAME Records
Configuring CNAME records is crucial when setting up your domain for HubSpot. The host field in the CNAME record should include the subdomain prefix, such as www or blog. Enter the specific CNAME address provided by HubSpot in the target field to establish the connection. Ensure host values are inputted without appending the domain name to avoid duplication issues.
For AWS Route 53 users, select ‘No’ for the Alias option when setting up CNAME records for your subdomains. Cloudflare users should ensure the proxy status is turned off to allow HubSpot to recognize the CNAME record correctly. Each DNS provider, like Namecheap, Bluehost, and Network Solutions, has its own interface and terminology. Follow their specific instructions for adding CNAME records.
A subdomain can only host content from a single location. Connecting a subdomain that already hosts external pages can result in broken links. Ensure the subdomain is dedicated to HubSpot content to avoid disruptions.
Handle DNS Errors
Handling DNS errors is inevitable, but understanding common issues can help troubleshoot effectively. One frequent error is the automatic appending of the domain to DNS records by some providers, leading to incorrect configurations and connectivity issues. DNS changes typically take a few minutes to propagate, but sometimes it might take longer.
If a DNS error persists after an hour, double-check your DNS setup for any typos or missing records. Tools like Whatsmydns can help verify the propagation status. If issues persist, contact HubSpot support for assistance.
Benefits of Connecting a Custom Domain

Connecting a custom domain connected to HubSpot offers many advantages that can significantly enhance your online presence, including improved brand recognition and boosted SEO rankings.
Here are the benefits in detail.
Enhance Brand Recognition
A custom domain establishes a distinct online identity for your business, making it easier for customers to identify and remember your brand. A unique website URL aligns with your business name, boosting brand visibility and trust. This alignment enhances your brand’s presence on the web and fosters a stronger connection with your customers.
Think of a custom domain as your business’s digital storefront. Just as a well-designed storefront attracts customers, a memorable web address invites visitors to explore your offerings. This visibility is crucial in a crowded digital marketplace.
Improve Trust from Search Engines
Search engines view custom domains favorably, which can improve your website’s authority and SEO rankings. A custom domain contributes positively to SEO, driving more organic traffic to your site. This increased trust from search engines can lead to higher rankings and more visibility in search results.
When search engines recognize your website as credible, it boosts your overall online presence. This credibility attracts more visitors and establishes your business as a reliable source of information or products in your industry.
Automated vs. Manual DNS Configuration

Choosing between automated and manual DNS configuration depends on your specific needs and technical capabilities. Automated DNS configuration reduces the risk of human error, allowing for real-time adjustments and quicker responses to changes in network conditions. This method is ideal for users needing scalability and efficiency.
Manual DNS configuration offers more control but requires detailed technical knowledge. This method typically involves logging into a DNS provider’s interface and entering records by hand, which can be daunting for non-experts. However, it allows for precise customization tailored to your specific requirements, especially when you need to perform dns configuration manually.
SSL certificates are automatically activated after the domain connection, generally taking a few minutes but can extend to four hours. Understanding the pros and cons of each method helps in making an informed decision, whether you choose automated or manual configuration.
Common DNS Providers and Setup Guides
Connecting a domain to HubSpot involves specific steps that vary by DNS provider. While some providers have straightforward processes, others may require more detailed instructions.
Here are setup guides for some of the most common DNS providers.
GoDaddy Account Setup
For GoDaddy users, log in to your GoDaddy account. Locate the CNAME record for your subdomain and input the HubSpot-provided value to establish the connection. This user-friendly process makes it easy to connect your domain to HubSpot.
Navigate to the DNS settings from the left sidebar menu and use the dropdown menu to find the appropriate CNAME record. Enter the necessary details to complete the setup. This straightforward process ensures efficient domain connection.
Other Common DNS Providers
Different DNS providers have unique interfaces and terminologies, making the process of connecting your domain slightly different. For instance, some providers may use ‘Alias’ while others use ‘Host’ fields to enter subdomain information. Understanding these differences is key to a successful setup.
For DNS providers like Namecheap, Bluehost, and Network Solutions, follow their specific instructions for adding CNAME records. Each provider offers detailed setup guides that simplify connecting domains to HubSpot. These guides are invaluable resources for ensuring a smooth and error-free connection.
Frequently Asked Questions
What are the benefits of automated DNS configuration?
Automated DNS configuration significantly minimizes human errors and enables real-time adjustments, making it highly effective for efficiently managing large-scale DNS settings. This leads to improved accuracy and responsiveness in DNS management.
How does a custom domain improve my SEO?
A custom domain improves your SEO by enhancing your website's authority and credibility, which positively influences search engine rankings and drives more organic traffic. This trust can lead to better visibility in search results.
What should I do if I encounter a DNS error?
If you encounter a DNS error, start by checking your DNS setup for any typos or missing records, and use tools like Whatsmydns to verify propagation. If the issue persists, consider contacting your DNS provider for assistance.
Can I use a custom SSL certificate with HubSpot?
Yes, you can use a custom SSL certificate with HubSpot by purchasing an add-on and generating a new CSR through their platform.
What is the first step to connect my domain to HubSpot?
The first step to connect your domain to HubSpot is to access your DNS provider account and update your DNS records. This will ensure your domain is properly linked to your HubSpot account.

